Quick Start Guide

This tutorial will get you started and introduce you to the key features of the app.
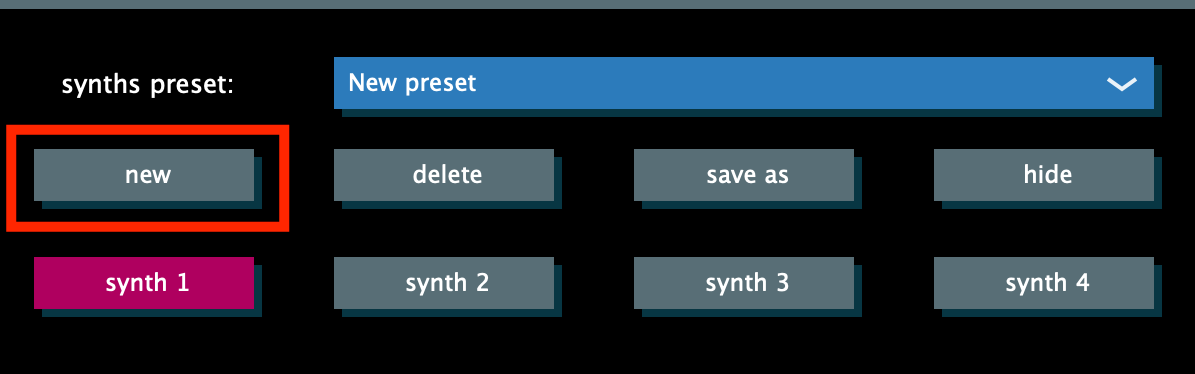
Let's create a sequence and set up a synth for it. Create a new sequence preset.
Set 110 bpm.
Extend the active region to its maximum.
Add notes to 2nd and 4th positions.
Select 3rd synth/track and shorten the active region to divide the track in half.
Select the triole subdivision.
Add notes to 4th, 5th and 6th positions.
Shorten the active region once again, locate it at the end of the track, and fill all note positions.
Let's also add something on the 2nd and 4th tracks.
Let's save the sequence.
Now let's scroll down to the synths section and tap the "change" preset button.
Create a new preset.
Here's the full synth section.
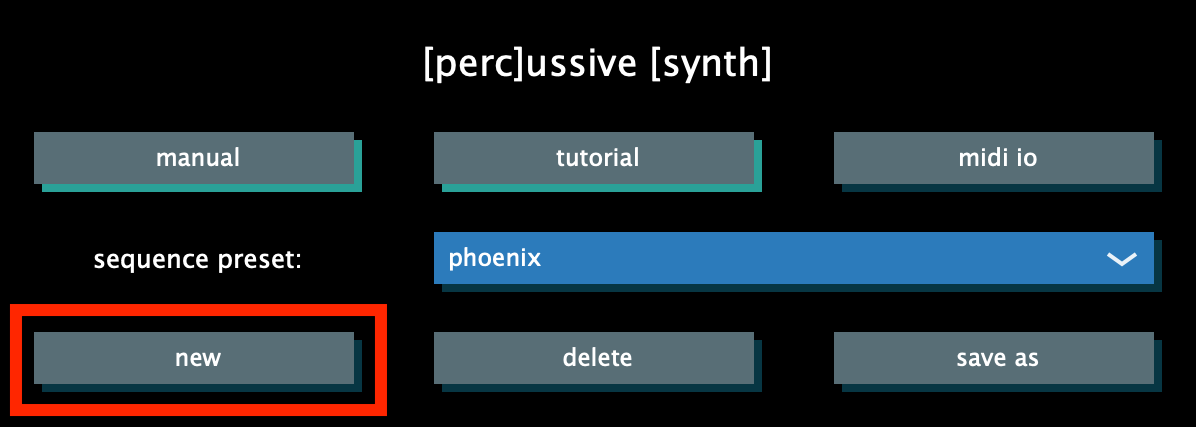
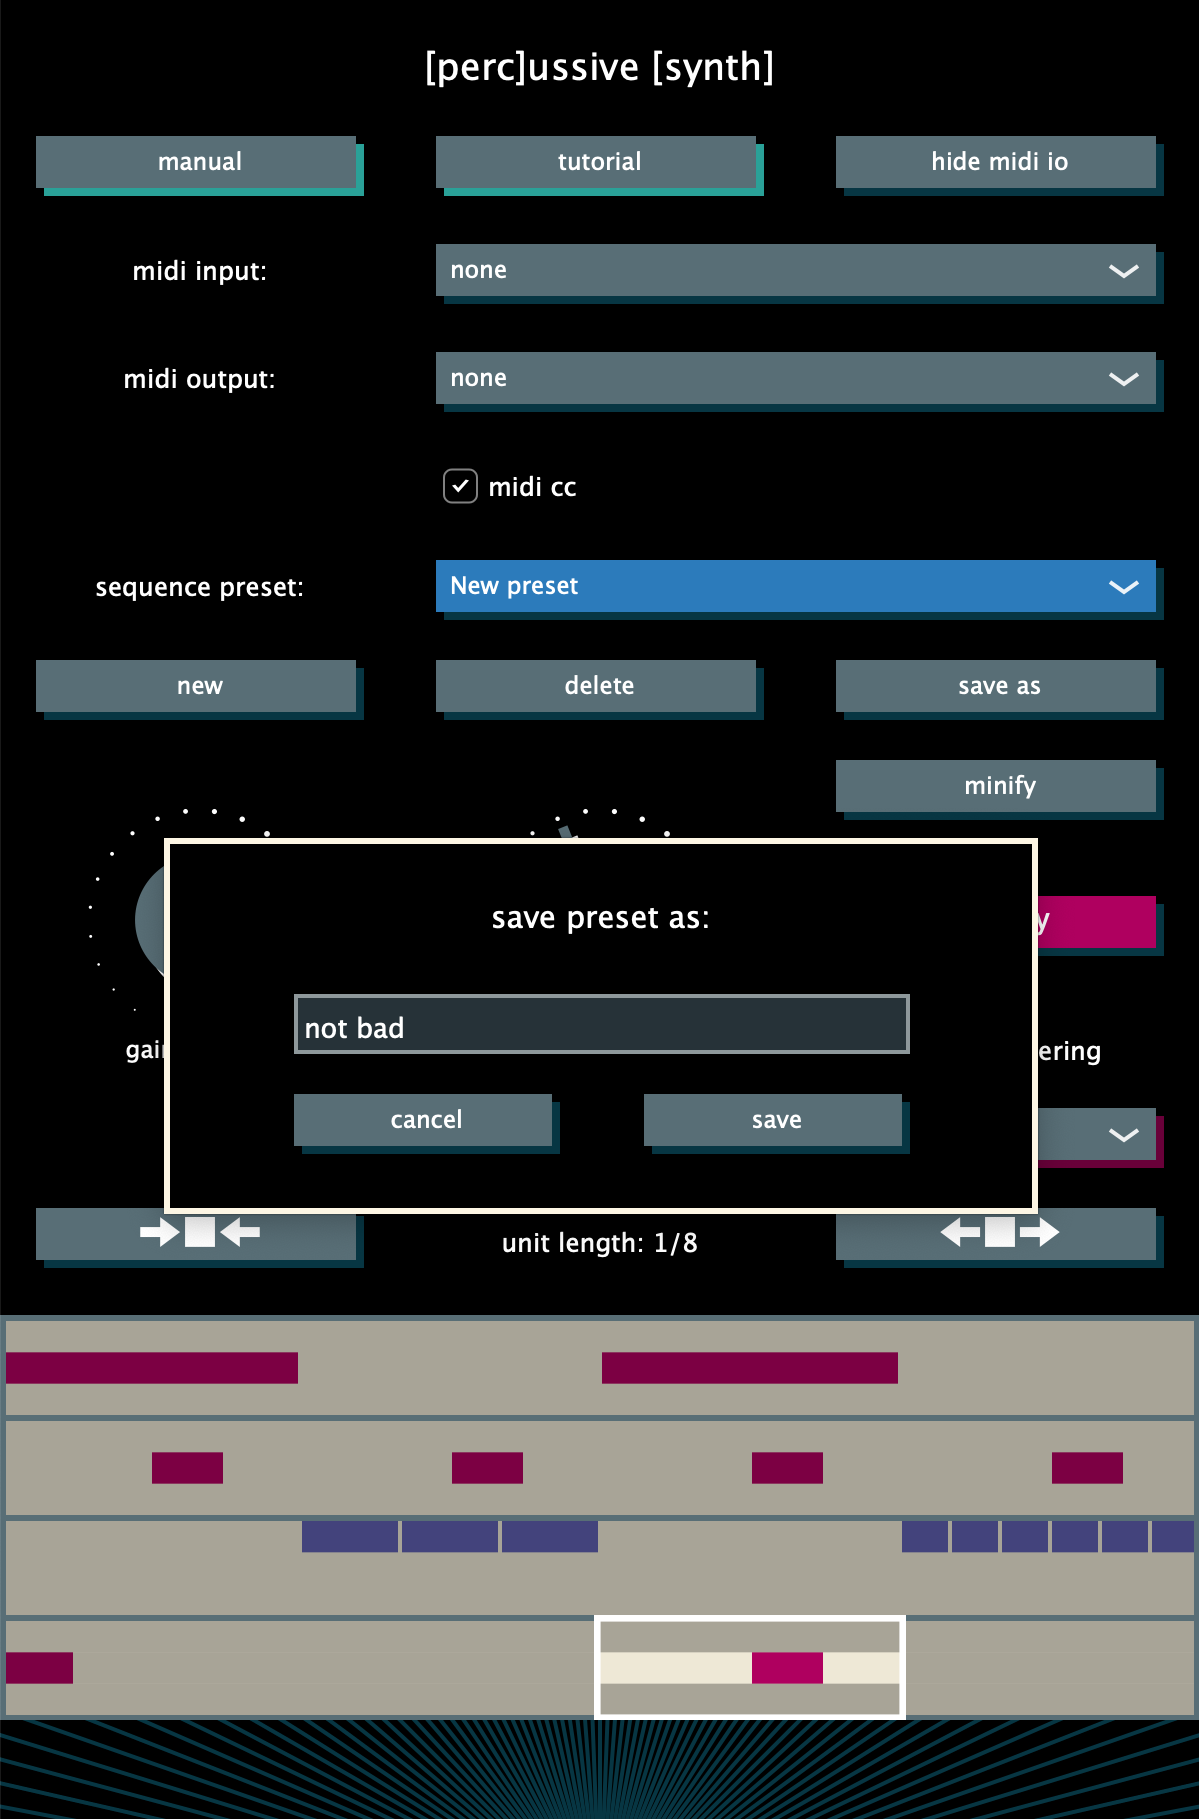
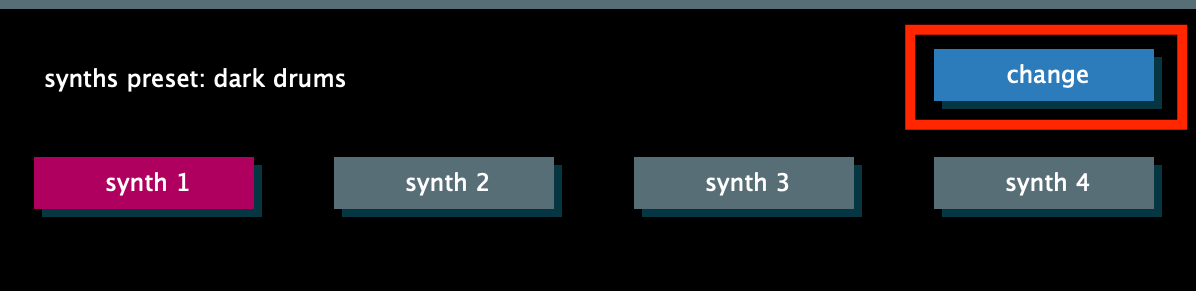
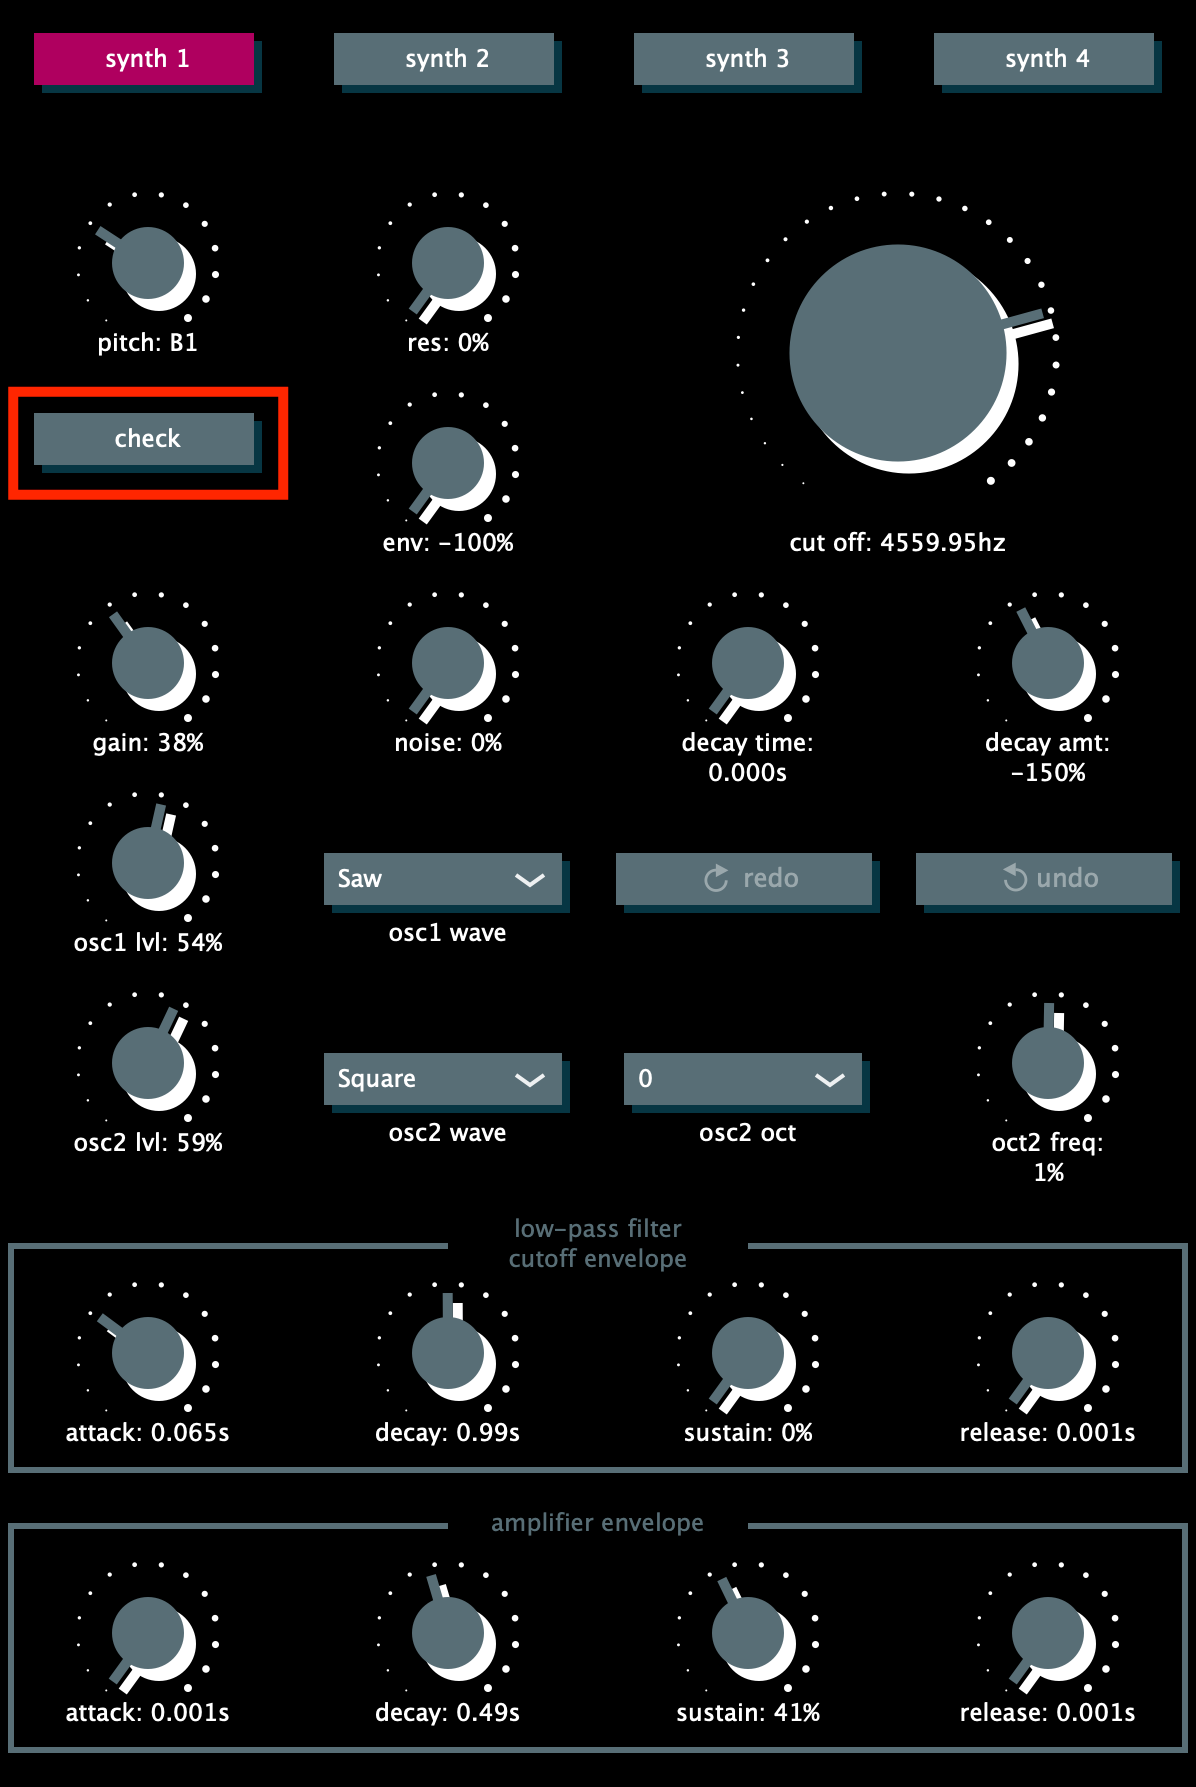
You can change synth (and track) by tapping on one of the four synth buttons at the top.
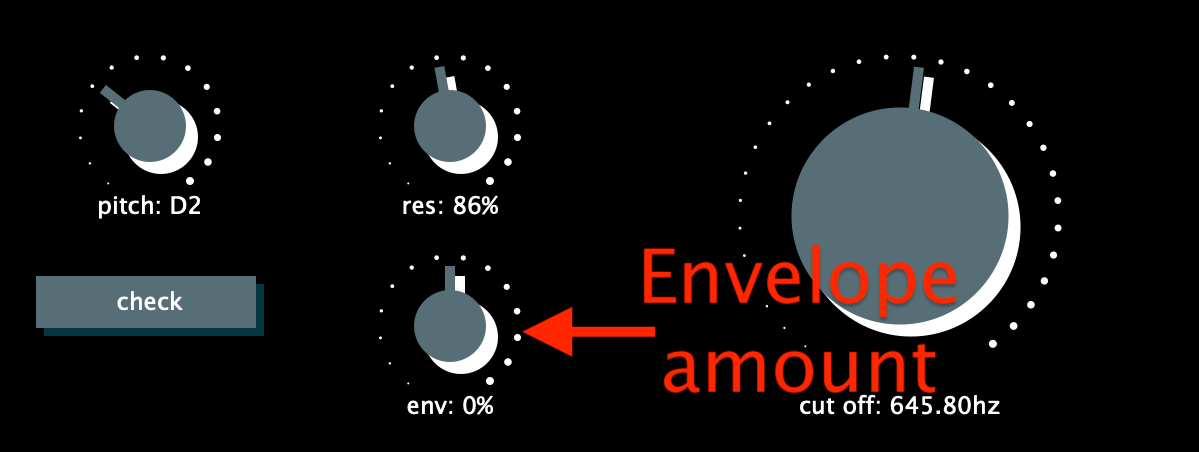
Tap the "check" button to hear the synth without starting the sequencer.
Let's set a low pitch for the 1st synth - D2.
Turn gain to maximum to get maximum volume.
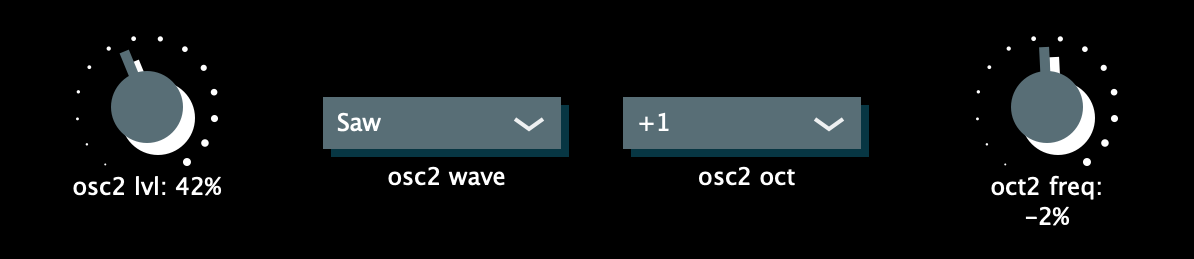
Mix both oscillators' volume as you like.
Use the white noise generator to get snare and hi-hat like sounds.
Set second oscillator's wave shape to Saw, raise its pitch by setting octave shift to +1.
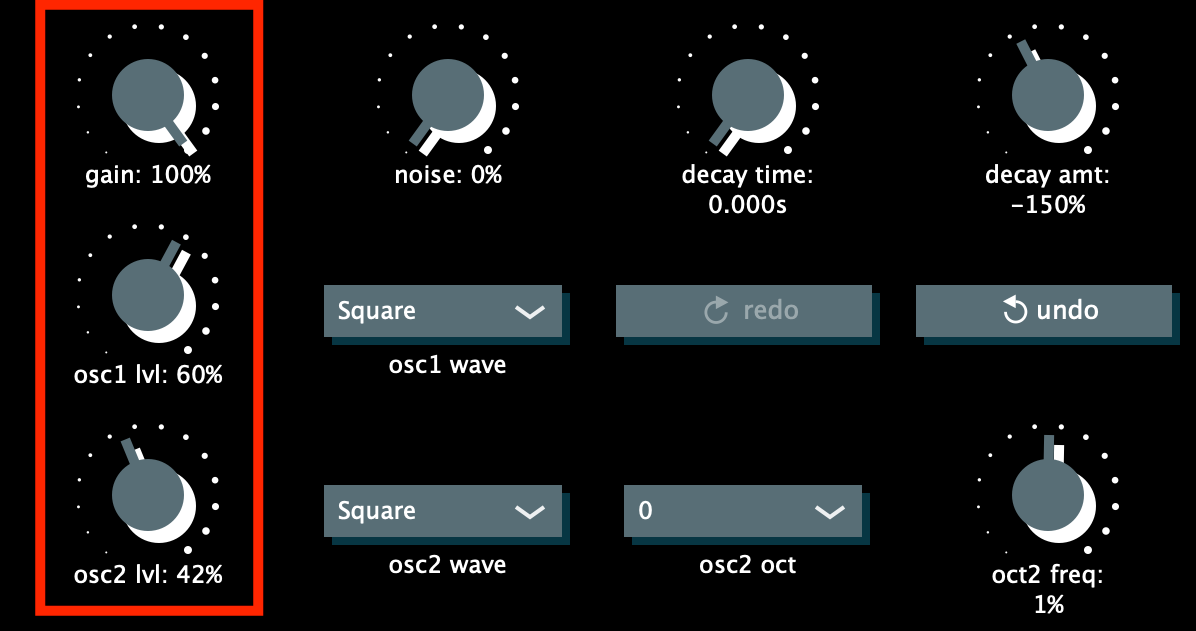
You can add width to your sound by slightly shifting second oscillator's frequency, for example to -2%.
Reset the envelope amount to 0, we'll cover its purpose a bit later.
The low-pass filter is a very expressive tool that influences the timbre a lot, that's why its knob is so big.
Let's set cut-off frequency to around 600 and resonance to around 85%.
Set decay time to 0.13s and decay amount to -100%. It'll make oscillators go down an octave in 0.13 seconds each time a note is played.
Experiment with these params to get a variety of drum-like sounds.
Following two rows of knobs control ADSR (attack, decay, sustain, release) envelopes.
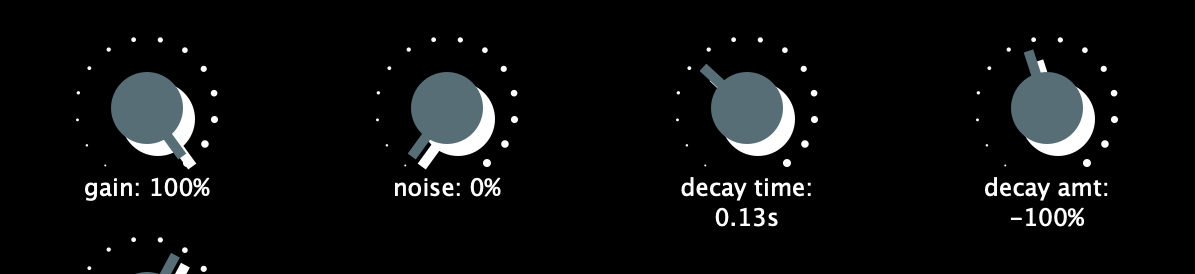
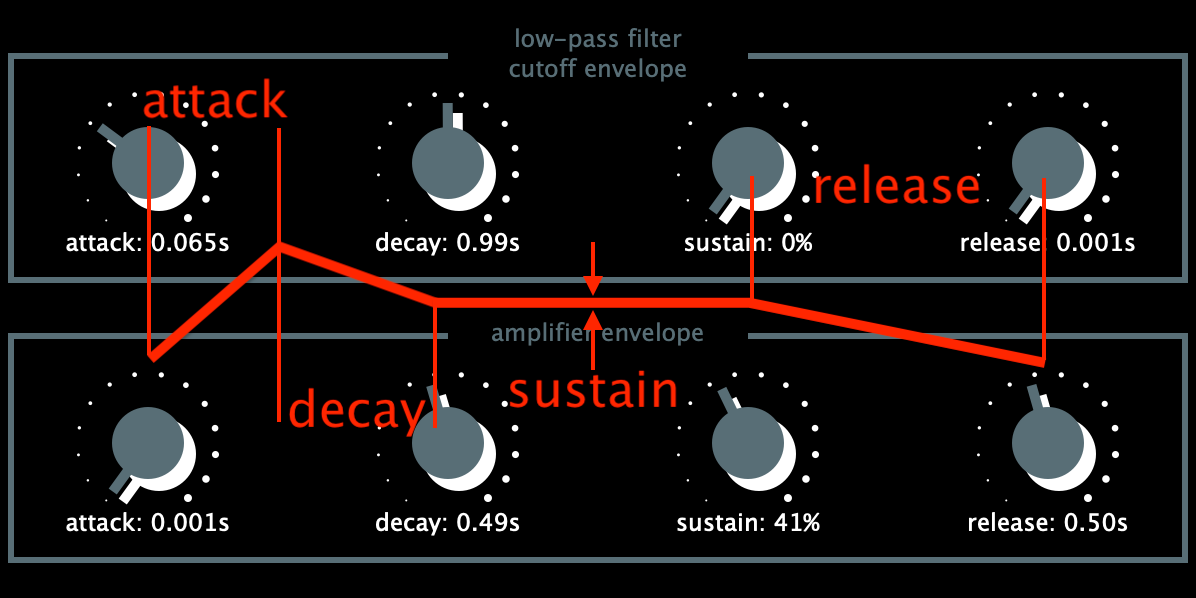
The amplifier envelope controls the volume of the sound. When a note is played its volume will increase to its maximum during the attack time, after that it'll get to the sustain level during the decay time, and after a note is released its volume will go down during the release time.
The low-pass filter cut-off envelope works the same way, but instead of volume, it controls the low-pass filter's cut-off frequency. The amount and direction of its influence are determined by the envelope amount (env) knob.
When you're happy with the settings you can record the tracks.
And if you're really happy with the results you can even export and share sequence and synths presets in the "extra" sub-menu.
Cheers!

Home

© 2022 Vadym Rostok